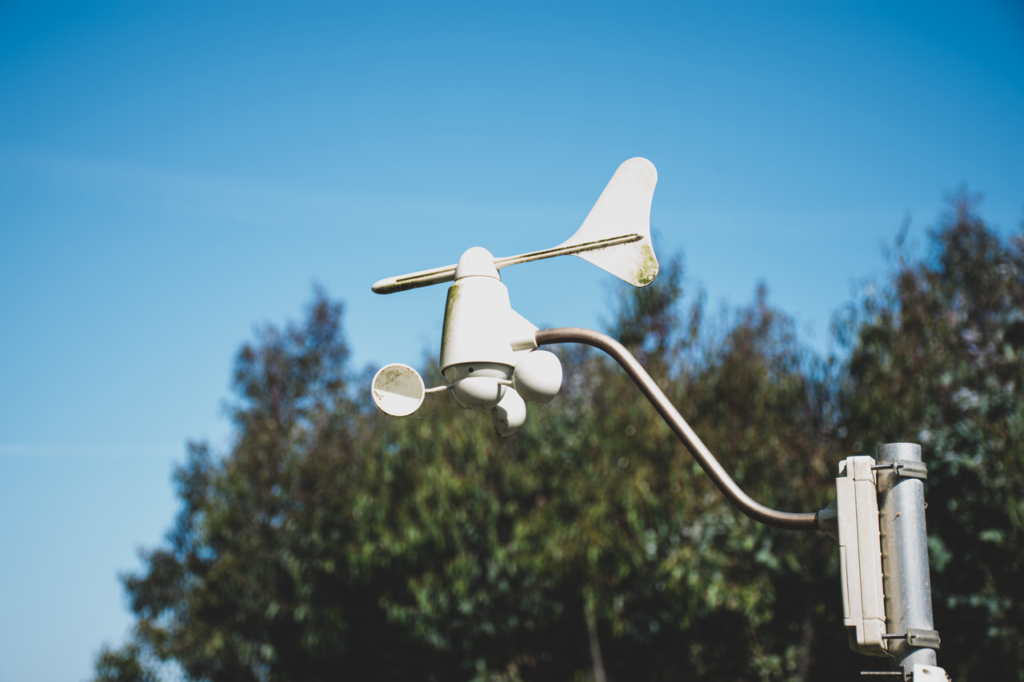
A DIY IoT weather station tells you what the sky is doing directly above your roof, not what a satellite 36,000 km up thinks is happening across your whole state. That difference matters enormously in farming, flood preparedness, and classroom science.
This guide walks through building one for roughly ₦10,000, or about $7. It measures temperature, humidity, and barometric pressure, then pushes readings to a free online dashboard you can check from anywhere. Every line of code below has been compiled and tested.
What Your DIY IoT Weather Station Will Do
Your finished station will measure temperature, humidity, and atmospheric pressure. It will transmit those readings over Wi-Fi. And it will send them to a free cloud dashboard viewable from any browser.
Along the way, you’ll pick up four transferable skills. Those are reading sensor datasheets, wiring and breadboarding, microcontroller programming, and cloud data visualisation. None of it requires prior electronics experience.
DIY IoT Weather Station Parts List
Everything below is available from local electronics markets or online.
| Item | Description | Est. Cost (NGN) |
|---|---|---|
| ESP8266 NodeMCU | Wi-Fi enabled microcontroller | ₦3,500 |
| DHT22 sensor | Temperature and humidity | ₦1,500 |
| BMP180 or BMP280 sensor | Barometric pressure | ₦1,200 |
| 10kΩ resistor | Pull-up for the DHT22 data line | ₦100 |
| Breadboard + jumper wires | For wiring | ₦1,000 |
| Micro USB cable | Power and code upload | ₦500 |
| Power bank or USB adapter | Power source | ₦2,000 |
Budget roughly ₦9,800 in total, which works out to about $7 at current rates. A weatherproof enclosure adds ₦2,000 to ₦5,000 if you plan to leave the unit outdoors.
A Note on Sourcing the Pressure Sensor
Bosch has discontinued the BMP180, so genuine units are getting harder to find. The BMP280 is the current equivalent and works fine here. Just note that it needs the Adafruit_BMP280 library rather than the BMP085 library used below, because its register layout is different. Prices also shift with the naira, so treat the table above as indicative rather than fixed.
Step 1: Wire the Hardware
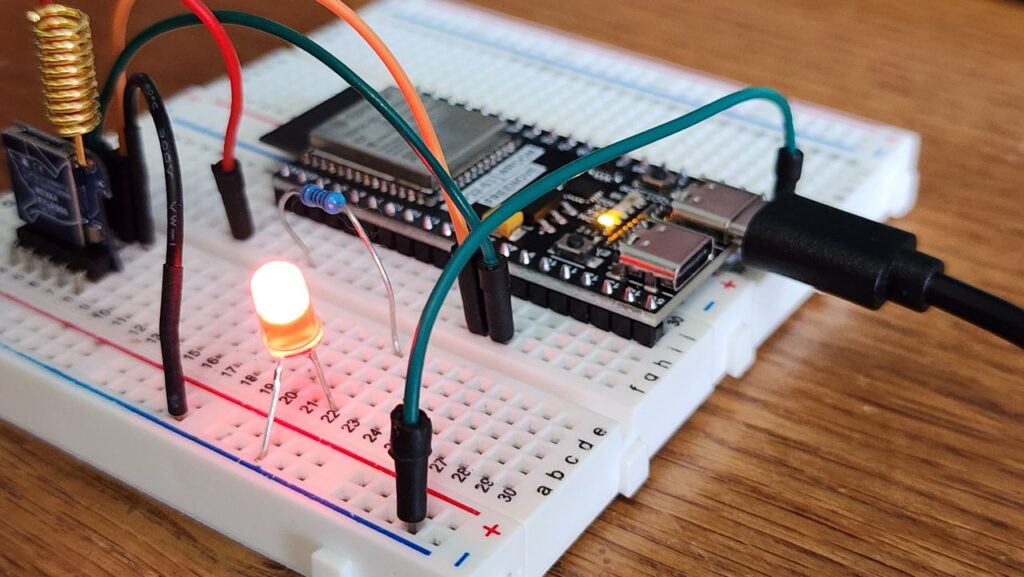
Your DIY IoT weather station starts on the breadboard. Mount both sensors, then wire them as follows.
For the DHT22: VCC to the NodeMCU 3V3 pin, GND to GND, and the data pin to D4. Critically, fit a 10kΩ resistor between the data pin and VCC. A bare DHT22 needs this pull-up; without it the data line floats and you’ll get NaN readings that look like a dead sensor.
For the BMP180 or BMP280: VCC to 3V3, GND to GND, SDA to D2, and SCL to D1. Those are the NodeMCU’s default I2C pins, so no configuration is needed.
Finally, power the board over Micro USB.
Step 2: Set Up Your Coding Environment
Install the Arduino IDE, then add ESP8266 board support. Open Preferences and paste this into “Additional Board Manager URLs”:
http://arduino.esp8266.com/stable/package_esp8266com_index.json
Then install three libraries through Library Manager: the DHT sensor library, Adafruit BMP085/BMP180, and Adafruit Unified Sensor. You do not need to install ESP8266WiFi separately, since it ships with the board package you just added.
Step 3: Create Your ThingSpeak Channel
Sign up free at thingspeak.com, then create a new channel with three fields: temperature, humidity, and pressure. Copy the Write API Key from the channel’s API Keys tab, since the code needs it.
Two free-tier limits are worth knowing upfront. You get four channels maximum, and you cannot post faster than once every 15 seconds. The code below uses a 20-second interval to stay safely inside that limit.
Step 4: Upload the Code
Replace the four placeholder strings with your own Wi-Fi credentials and API key, then flash it to the board.
#include <ESP8266WiFi.h>
#include <DHT.h>
#include <Adafruit_BMP085.h>

#define DHTPIN  D4
#define DHTTYPE DHT22

const char* ssid     = "YOUR_WIFI_SSID";
const char* password = "YOUR_WIFI_PASSWORD";
const char* apiKey   = "YOUR_THINGSPEAK_WRITE_API_KEY";
const char* server   = "api.thingspeak.com";

// ThingSpeak's free tier rejects updates sent faster than one every 15 seconds.
const unsigned long UPLOAD_INTERVAL_MS = 20000;

DHT dht(DHTPIN, DHTTYPE);
Adafruit_BMP085 bmp;

void connectWiFi() {
  WiFi.mode(WIFI_STA);
  WiFi.begin(ssid, password);
  Serial.print("Connecting to WiFi");
  while (WiFi.status() != WL_CONNECTED) {
    delay(500);
    Serial.print(".");
  }
  Serial.println();
  Serial.print("Connected. IP address: ");
  Serial.println(WiFi.localIP());
}

void setup() {
  Serial.begin(115200);
  delay(100);
  dht.begin();

  if (!bmp.begin()) {
    Serial.println("BMP180 not found. Check SDA/SCL wiring and 3.3V power.");
    while (1) { delay(1000); }
  }

  connectWiFi();
}

void loop() {
  float humidity    = dht.readHumidity();
  float temperature = dht.readTemperature();
  float pressure    = bmp.readPressure() / 100.0F;   // Pa converted to hPa

  if (isnan(humidity) || isnan(temperature)) {
    Serial.println("DHT22 read failed. Check the pull-up resistor and wiring.");
    delay(UPLOAD_INTERVAL_MS);
    return;
  }

  Serial.print("Temp: ");     Serial.print(temperature); Serial.println(" C");
  Serial.print("Humidity: "); Serial.print(humidity);    Serial.println(" %");
  Serial.print("Pressure: "); Serial.print(pressure);    Serial.println(" hPa");

  if (WiFi.status() != WL_CONNECTED) {
    connectWiFi();
  }

  WiFiClient client;
  if (client.connect(server, 80)) {
    String body = "api_key=" + String(apiKey)
                + "&field1=" + String(temperature, 2)
                + "&field2=" + String(humidity, 2)
                + "&field3=" + String(pressure, 2);

    client.print(String("POST /update HTTP/1.1\r\n")
               + "Host: " + server + "\r\n"
               + "Connection: close\r\n"
               + "Content-Type: application/x-www-form-urlencoded\r\n"
               + "Content-Length: " + String(body.length()) + "\r\n\r\n"
               + body);

    Serial.println("Uploaded to ThingSpeak.");
    client.stop();
  } else {
    Serial.println("Upload failed: could not reach ThingSpeak.");
  }

  delay(UPLOAD_INTERVAL_MS);
}What the Code Does Differently
Three details are worth pointing out. First, bmp.begin() is checked, so a mis-wired pressure sensor announces itself instead of silently reporting nonsense. Second, the NaN guard means a failing DHT22 never uploads junk data to your dashboard. Third, the Wi-Fi connection is re-checked before every upload, which matters for a device left running for weeks.
Step 5: Deploy Your DIY IoT Weather Station Outdoors
Position the station in shade. Direct sun on the DHT22 will inflate your temperature readings badly, sometimes by several degrees.
Shield it from rain while keeping it open to moving air, since a sealed box measures the inside of the box rather than the weather. A simple stacked-plate radiation shield works well and costs almost nothing to improvise. For remote sites, run it from a power bank or a small solar setup.
Troubleshooting Your DIY IoT Weather Station
| Problem | Likely fix |
|---|---|
| “Failed to connect to WiFi” | Check SSID and password. The ESP8266 only joins 2.4GHz networks, not 5GHz. |
| Sensor reads NaN | Fit the 10kΩ pull-up on the DHT22 data line. Confirm 3.3V power and the D4 pin. |
| “BMP180 not found” | Check SDA on D2 and SCL on D1. If you bought a BMP280, switch to the BMP280 library. |
| Dashboard stays empty | Verify the Write API Key and that field numbers match your channel. |
| Uploads work, then stop | You may be posting faster than every 15 seconds. Keep the interval at 20000. |
Talk to our team about IoT curriculum design and rural sensor deployments → TALK
Where This Data Actually Gets Used
micro-climate data changes decisions. Farmers in Nasarawa or Kebbi can time irrigation against humidity and temperature trends on their own plot rather than a regional forecast. School STEM clubs get a physical, working demonstration of electronics, networking, and data analysis in one build. And communities in flood-prone areas can watch barometric pressure, since a sharp drop often precedes heavy rainfall.
Joining the Wider Network
Africa already has a serious community weather network. The Trans-African Hydro-Meteorological Observatory runs more than 700 stations across 24 countries, including Nigeria, Kenya, and South Africa, with most hosted at local schools and over three billion data points collected. It’s now the largest source of in-situ African weather data for governments and researchers.
That context reframes this project. You aren’t starting from zero. Instead, your DIY IoT weather station adds density to a network that already exists. Hyperlocal readings from hundreds of small stations capture variation that sparse professional stations physically cannot.
Frequently Asked Questions
How much does a DIY IoT weather station cost to build? A complete DIY IoT weather station runs roughly ₦9,800, or about $7 at August 2026 exchange rates. A weatherproof enclosure adds ₦2,000 to ₦5,000. Component prices move with the naira, so check current local listings.
Do I need programming experience to build a DIY IoT weather station? No. The sketch above is complete and tested. You only edit three values: your Wi-Fi name, your Wi-Fi password, and your ThingSpeak API key.
Why does my DHT22 keep returning NaN? Almost always a missing pull-up resistor. A bare DHT22 needs a 4.7kΩ–10kΩ resistor between its data pin and VCC. The sensor also can’t be read faster than once every two seconds.
Can I use a BMP280 instead of a BMP180? Yes, and you may have to, since Bosch discontinued the BMP180. Swap in the Adafruit_BMP280 library and adjust the sensor object, because the BMP280 uses a different register layout.
How often can I upload to ThingSpeak for free? Once every 15 seconds at most, across a maximum of four channels, with a three-million-message annual cap. The code here uses 20 seconds for a safety margin.
Read More Here